
The Proper Way to Install Textured Architectural Films
The Proper Way to install Texture Architectural Films
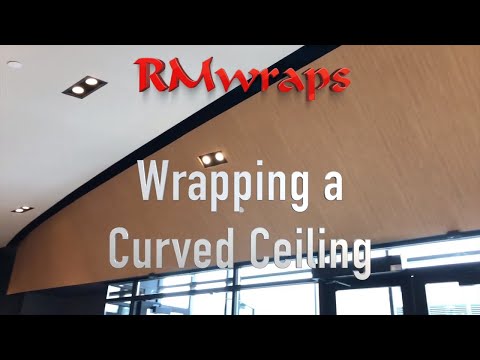
This video from RM Wraps provides a professional guide on the correct techniques for installing textured architectural films, specifically focusing on how to achieve a durable overlap.
Key Steps for Installation
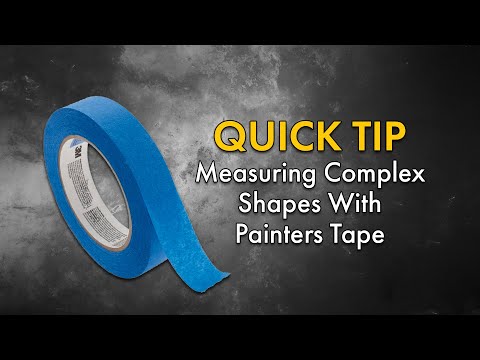
Surface Preparation: After the first piece of vinyl is installed, use painter's tape to mark a half-inch overlap [00:47]. Sand the textured surface of the base vinyl with 180 or 220 grit sandpaper to ensure it is smooth [00:54].
Cleaning: Use a lint-free rag with glass cleaner or rubbing alcohol to remove any debris from the sanded area [01:10].
Adhesion Promotion: Apply Primer 94 with a cotton swab to the area where the overlap will occur and let it dry for a few minutes [01:21].
Alignment Strategy: Use small tape "tags" as visual guides for the half-inch mark, which is especially helpful when working at heights or on large walls [01:43].
Squeegee and Heat: Use a specialized architectural film squeegee to press the film down [02:42]. Follow up with post-heating using a heat gun to activate the adhesive and soften the vinyl for a permanent bond [03:02].
Pro Tips
Overlapping vs. Butt Joints: While "butt joints" are sometimes requested, the video recommends overlapping for wood grains and solid colors as it is more durable and the seam is nearly invisible [03:30].
Resources: Detailed data sheets, such as the "Dry Apply Installation Guide," are available on the Rm Wraps Store website.