
Step-by-Step Guide: How to Wrap Your Fridge Door with Vinyl
Step-by-Step Guide: How to Wrap Your Fridge Door with Vinyl
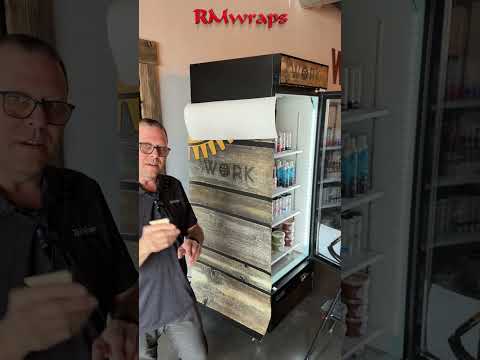
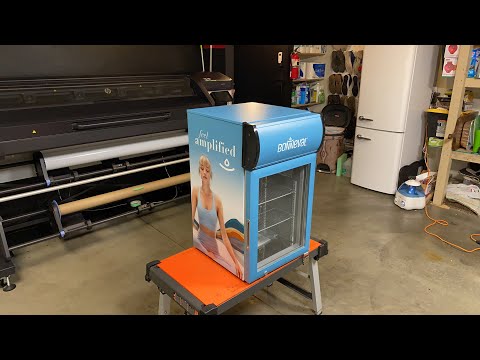
RM Wraps wants to show you how to install custom-printed vinyl on a curved door refrigerator. Here's a video on how to do it.
How to Wrap a Refrigerator Door with Vinyl
Introduction
Host Randy Miller introduces the video as a tutorial on wrapping a refrigerator door with vinyl.
The door in question has a curved surface, which influences the wrapping technique.
Step-by-Step Wrapping Process
Cleaning the Surface
Use an invisible glass cleaner to remove dust and debris.
Ensure the surface is completely clean before applying vinyl.
Positioning the Vinyl
Start from one end and align it with the door.
Use marking indicators to help with alignment.
Tape the vinyl in place or use extra vinyl strips for stabilization.
Applying the Vinyl
Tack down the vinyl at the corners to secure the position.
Slowly peel off the backing while ensuring proper alignment.
Use a squeegee to apply the vinyl, following pre-printed arrows to smooth it out.
Removing Air Bubbles & Adjustments
If bubbles or creases appear, gently pull up the vinyl and reposition.
Use your thumb or a squeegee to work out any air pockets.
Continue working inch-by-inch, especially over curved areas.
Final Touches
If the door has a flat surface, start from the top and work downward.
If the door has a curved surface, start from one side and work across.
Custom vinyl sizes are available for different fridge types (French doors, stacked doors, solid doors).
See more custom-printed vinyl refrigerator designs here.